How to manage source codes of simple java application in IntelliJ using Git?
“The most basic way of controlling versions in modern programming world.”
Continuing from the previous article about building an artifact from the simple java application project in IntelliJ, I would like to talk about how to start managing source codes of a project using Git & Github.
Until now, every change that I have made for whatever in the source codes, goes directly reflected in local filesystem files. But in real world, it’s not only me working on project but also other dev team members. So there is no point of making changes only in my local files. Instead, we need to make the project accessible from remote repository with restricted access. That’s where Git and Github come into play.
Step1. Initialise Git Repository
Run the following command in the root directory of your java application project in IntelliJ’s terminal console.
git init

you can see the newly created directory “.git”, and a couple of directories and files under it to manage Git repository.

Step2. Check commit status
by checking status with the command as below, you can see that Git repository has started tracking commits, asking for adding untracked files to the local stage area before committing them.
git status

Step3. Add .gitignore
In fact, we are not supposed to be sharing all the files in the project, meaning some of files are not technically necessary for others to make changes for an application like out/ directory. This must be very tricky for beginners to identify which one is necessary and which one is not. So you can leverage the generally accepted .gitignore file from here https://github.com/github/gitignore/blob/master/Global/JetBrains.gitignore as a starting point, according to the JetBrain’s official guideline here.

and the if you execute git status one more time, you can find out only necessary files are being asked to be added to the stage area of git repository.

Step4. Add files to track them
by executing this command
git add .
you can add all files listed as untracked files above to the stage area before commit.

Step5. Commit
Then commit the files to persist the staged changes.
git commit -m “My First Commit”

So I have commited changes on master branch of the project.

Step6. Push to remote repository.
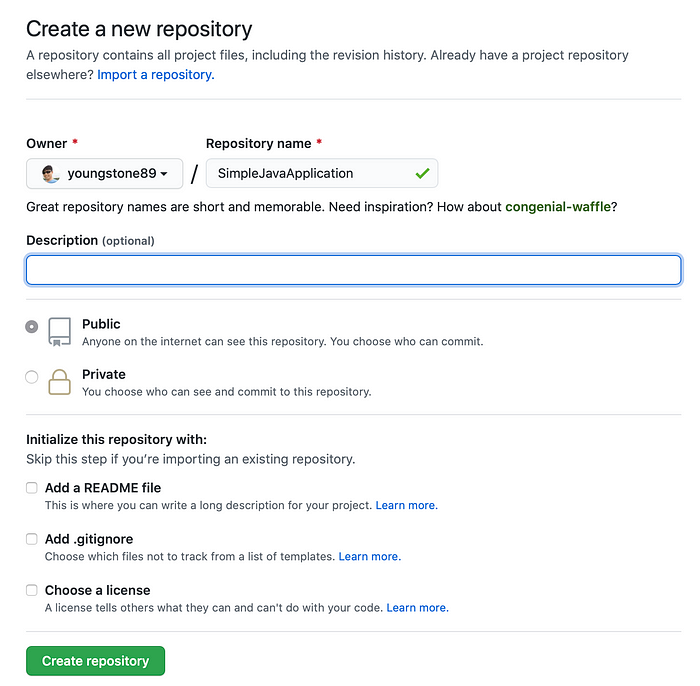
If you don’t have an account in Github, please create an account and then create a repository .
then execute the commands as below.
the project remote url must be different from my sample code.
Then you can see the the locally committed files have been uploaded to the mote respository.

That’s it! Done!
What’s next?
Now that I have uploaded the project in remote repository, anyone else that is able to securely access the repository can make changes and push them for eventual persistence. So, for the next article, I would like to talk about how to access to the remote repository and set up the same development environment in different user’s local machine, make changes in different branch, and make pull requests for merge.
TO BE CONTINUED…