The first thing you have got to do is
check the latest stable version that Homebrew(Software Package Manager on Mac OS) provides for installation.
Run the command line $brew info mysql
then you can see some response as below.
The response is saying that the package manger provides stable version 8.0.12 of mysql.
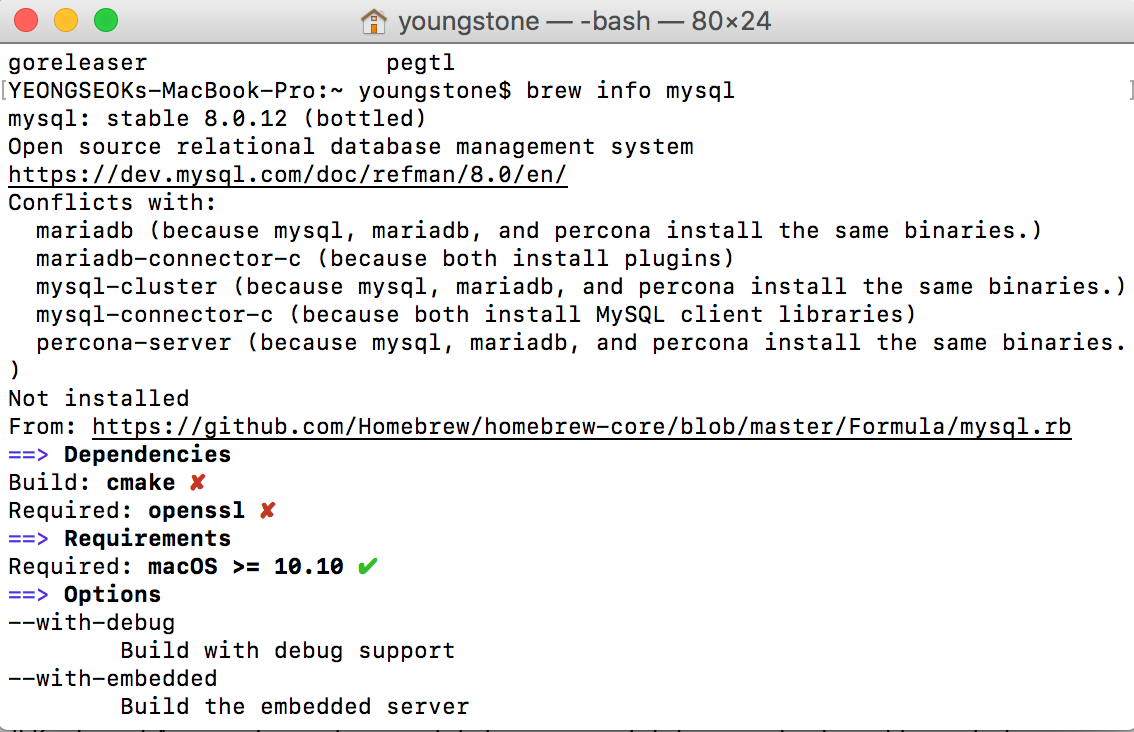
If you don’ t have any specific requirement to the version of mysql, just go on with the installation with the command line $brew install mysql.
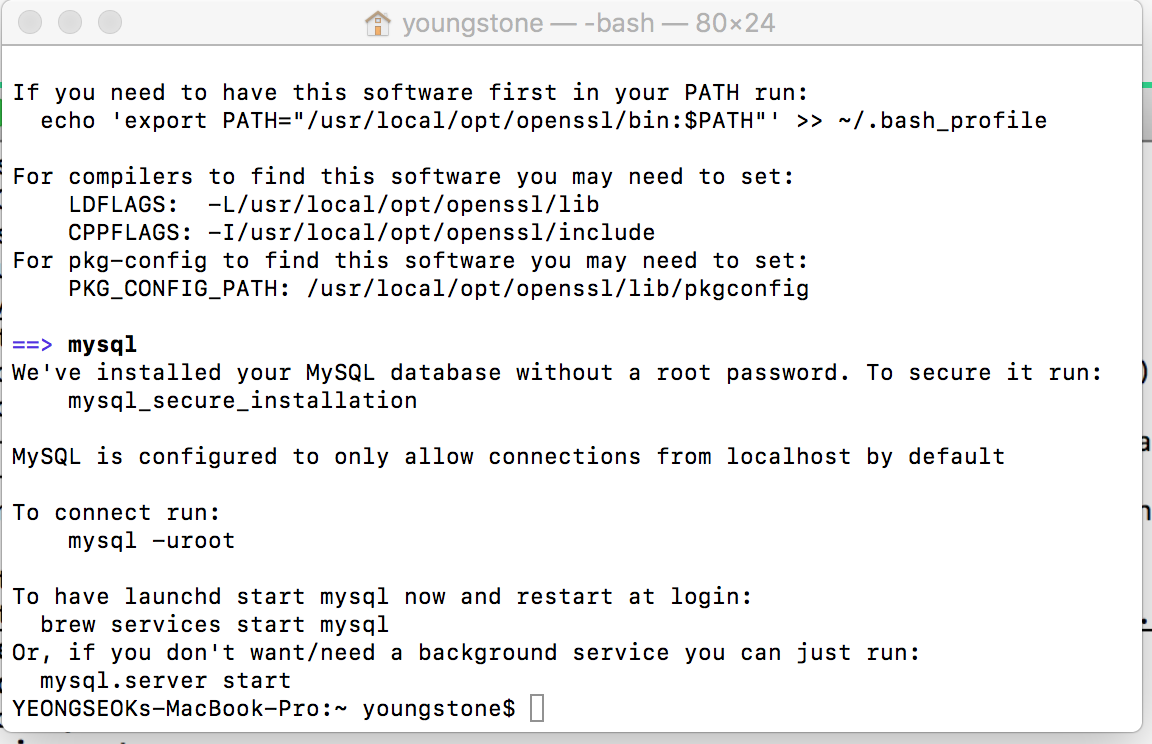
Once the brew manager installed the mysql, the message comes out as in the picture above. Then, run the command $mysql_secure_installation to configure the root password because the installation got executed without setting the password for the root user.
and then start the mysql server and get logged in for simple connection test.
Run the command
$mysql.server start
then you can see the server has been started successfully.

Now, you are able to log-in the mysql server and check by running simple mysql query statement.

Simple as that.
Thanks!
Now we are ready to get down to SQL Practice.